
产品描述
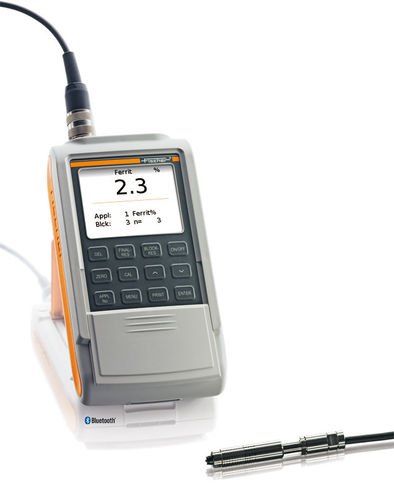
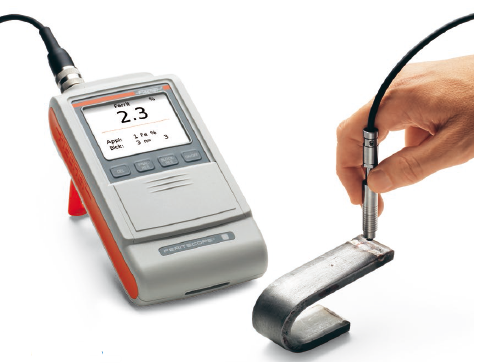
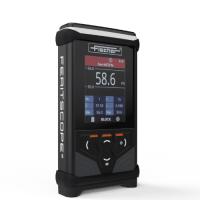
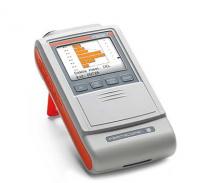
奥氏体不锈钢焊缝中δ铁素体的存在会影响焊缝的强韧性、耐腐蚀性及焊接性,工程现场的焊接过程通常借助铁素体含量测定仪来控制δ铁素体的含量。化工设备和石油加工厂通常要承受高温、高压,同时要耐腐蚀。外部环境要求所用钢材即使在高温下也要有足够的耐腐蚀和耐酸性能。如果铁素体含量太低,焊缝受热后容易产生裂纹;如果铁素体含量太高,焊缝将丧失韧性和延展性。对于双相钢,如果铁素体含量太低,焊缝受到张力或发生振动时容易破裂。 FeritScope FMP30根据磁感应方法测量奥氏体钢和双相钢中的铁素体含量。仪器能识别所有的磁性部件,也就是说,除了delta铁素体,还能识别其转化形式马氏体。仪器符合Basler标准和DIN 32514-1标准,适合于现场检测,可以测量奥氏体覆层、不锈钢管道、容器和锅炉焊缝内以及奥氏体钢或双相钢制造的其他产品内的铁素体含量
Chemical, energy and processing plants are often subjectto heat, aggressive media and high pressure. Thesecircumstances demand steel with high corrosion and acid resistance that are resilient even at high temperatures.If the ferrite content is too low, then the weldedmaterial is susceptible to hot-cracking, if the ferrite contentis too high, the toughness, ductility as well as thecorrosion resistance of the steel are reduced. For duplexsteel, a ferrite deficit in the area of the weld seam resultsin stress corrosion cracking and reduction in strength.
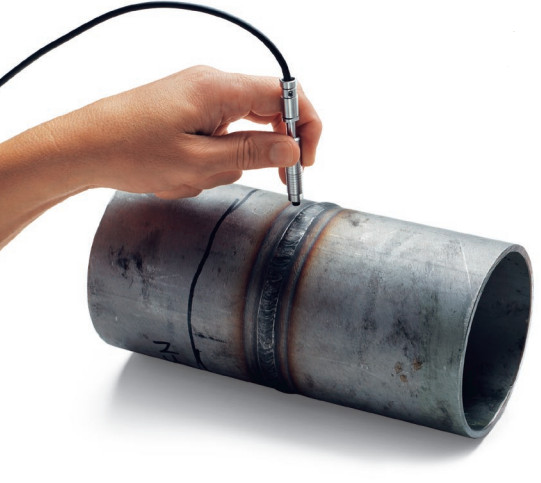
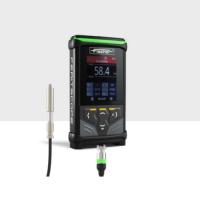
The FERITSCOPE FMP30 measures the ferrite content in austenitic and duplex steel according to the magnetic induction method. All magnetisable structure sections are measured i. e., in addition to deltaferrite also strain-induced martensite, for example, or other ferritic phases. It is suited for measurements according to the Basler- Standard and according to DIN EN ISO 17655. Areas of application are onsite measurements, e. g. of austenitic platings as well as weld seams in stainless steel pipes, containers, boilers or other products made of austenitic or duplex steel.
Duplex steel is used increasingly in the chemical and petrochemical industries, e. g., for boilers and pipelines. A ferrite deficit in the weld seam area leads to strength reduction, an excess ferrite content to a reduction in toughness and ductility. In particular when welding duplex steel, the ferrite content in the welding area can easily assume unfavourable values either due to unsuitable welding filler materials or through poor heat input or heat removal. Only an onsite measurement can provide the assurance that the processing did not change the optimum ferrite content in an unfavourable manner at the expense of mechanical or corrosion-resistance properties.
化形式马氏体都能被识别。采用磁感应方法测量铁素体含量有个特别的优势,sigma相即Fe-Cr沉积,由于铁素体含量过高和冷却条件不对而形成,被准确地识别为非铁素体。另一方面,在做金相切片试验时,要从铁素体组织中区别出sigma相是非常不容易的,这将导致铁素体含量的错误评估。
化学和石油化工行业越来越多地使用双相钢,例如:图1和图2中的锅炉容器就是用高防腐性能的双相不锈钢制造的。如果焊缝处的铁素体含量过低,受到张力或发生振动时容易破裂。然而,在焊接双相钢时,由于焊接添加剂或热处理不当,焊缝处的铁素体含量非常容易超标。只有现场检测才能确保处理过程不会改变*佳的铁素体含量,防止机械性能或防腐蚀性能的下降。

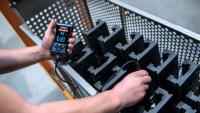
图为:焊缝中铁素体含量的测量
Simple and quick measurements
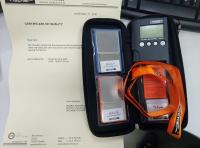
(简单快速地测量)Calibration / Standards
(校准/校准片)
Magnetic induction method
(测量原理)









 814294500